


|
|
DIY Intercooler Scoop |
|
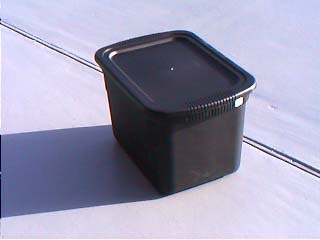
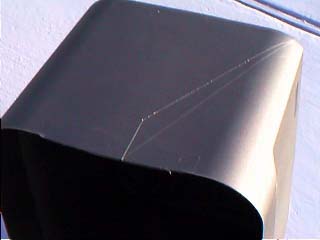
Well the quest for the low cost, high impact, intercooler scoop is over. With one trip to the "Container Store" in our area, I found a really cool black storage bucket, you have seen these in the Wal-Mart's and other places, but black is hard to find, except around Halloween time. You could also probably find this "Sterilite" unit at the local Office Depot, Office Max etc. So let's begin this trek, with the start and purchase of the candidate storage bucket. The mounting area for the CCHE bracket on my Typhoon measured 21" across. So with tape measure in hand I went and obtained the following unit. It was the next to biggest one they offer and came in awesome black. The inside measurement to the handle area was 21.5", cool.
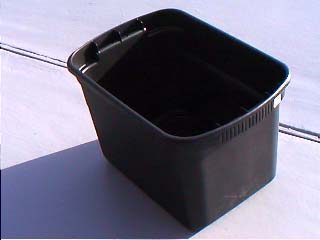
At first with the lid lip, it didn't seem like this was going to work, but, cutting the lip off proved different.
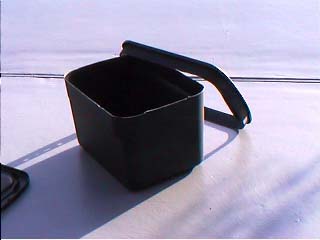
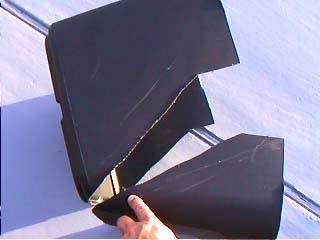
So with the lip cut off, things were coming together. Next, approximate the size of the overall size of the opening, I guessed at 7" tall which worked out well.
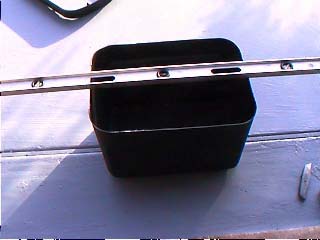
So marking the opening on each side using a level as a straight edge and using a utility knife to mark the edge. The next step was to scribe the sides.
As you can see here, I used two lines, one directly from the mark to the edge of the bucket, the other to form a flat of 3" the from that point to the same edge. I used a "speed square" and screw driver to get the line off the edge to the 3" mark, then the level and a screw driver to scribe the lines.
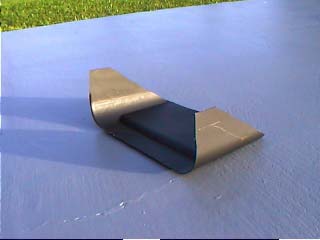
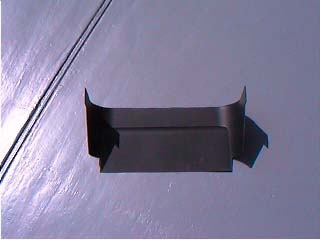
Shown here is the cut away portion, if you notice, you now have enough left for a second scoop, always good to have a backup as this unit is designed to be expendable should you hit one of those steep angle entry ways.
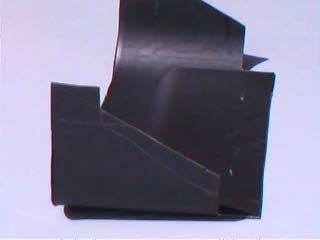
The two photos above show the rough cut, then the next is the notching down to the make the "fit". As you can see in photo one, the scribe line on the side of the "rough cut" now goes from the original mark to a point 9-1/2". In the second photo you see you can see the ears marked at 2" and then cut in parallel to the original line. Look towards the top of photo 2 here and you see that at approximately 1-1/2" in, I cut a notch section out, this helped get around the square end next to where the original little rubber air dam used to be. This notch actually serves to center the scoop as the two outside bolts for the rubber dam fit right in the corner of the notch. I then pushed the scoop up and marked the plastic by scratching against the bolts, and using that and the original rubber dam to mark the holes.
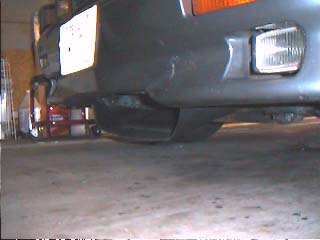
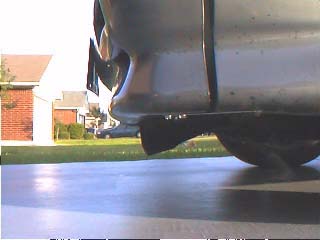
Here is an overhead view with the notches. Once the holes are drilled, the scoop is going to seem to not want to fit perfectly, but it comes close. You will want to use as large (diameter) washer as you can find to spread the load on all the original bolt holes and nuts. This plastic is flexible and can tear if stressed too much. I used a washer at every point of mounting, and this snugged the scoop up nicely with a tight fit. Then I used self tapping screws that were piloted with a small drill bit after positioning the front of the scoop into position. I took care to measure road clearance from side to side to keep the scoop opening even.
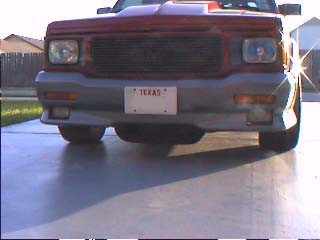
And here it is, and it really does work well, I noticed an immediate difference and very rapid cool down after a pull. With Texas heat approaching the 100s, this has helped the afternoon runs and keep temps as low as possible. I also have a multi-pass auxiliary IC cooler behind the grille, replacing the ATR unit I originally had, this has made quite a combination. Good luck on your project and remember to go slow, each truck is slightly different, so your measurements may be slightly different. -scoop, article, and pictures by Scoop |