|
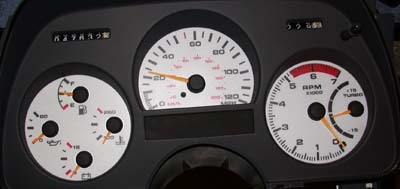
The stock gauges are under lit by automotive standards. After a few options
became available through the years, I decided that a set of indiglo gauges would
be the most functional visual upgrade to the stock gauges.
And now that they are in, It's impossible to say they are hard to read at any
time.
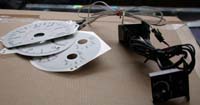
Needed:
Gauge faces (speed hut, or ebay -look under typhoon)
A good couple of hours depending on your experience with the dash
Tear-Down
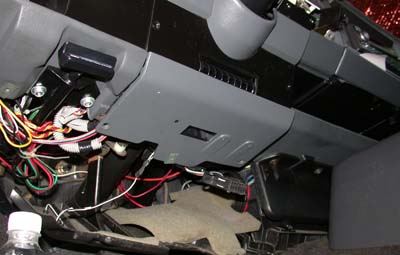
First we have to get to the gauges, wouldn't be a bad idea to disconnect the
negative on the battery either.
Remove the fuse panel, foot well panel, and the panel at the bottom of the steering
column.
The fuse panel is 1 screw, then pull downwards and out, its gone.
The foot well panel has a few screws holding it in place.
After that the bottom dash panel has the ALDL screwed into it, as well as the
e-brake cable. You'll need to remove all the screws, along with the one for
the e brake. This panel then can be rotated around the ebrake cable out of the
way.
Next step is to remove the cluster housing from the dash.
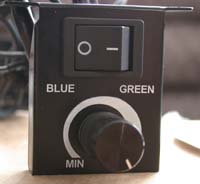
Unscrew the fog light switch and mirror controller if you have one.
Remove all the screws hidden by these two switches.
The light control panel should slide down and out of the dash, disconnect the
connectors for the light controls and switches you may have installed.
The hvac control panel is a little more difficult.
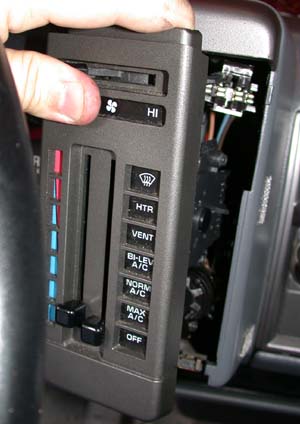
There are 3 connectors on the hvac panel along with a vacuum harness and a pull
cable for the vent doors.
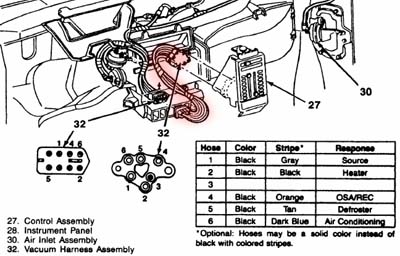
The other end of these vacuum lines are easily accessible under the dash. I
don't have pics yet, but you can see the connection in the diagram below. If
your able to remove this end, it should give you extra room to work with.
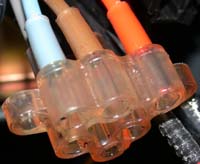 
If not, the harness is held on at the panel using two of the same retainer washers
that were on the cable, one on each side. get these off and carefully pry the
spongy rubber away, side to side, until your free. I had to keep pulling and
pulling to the point that I was sure that I was going to damage the vacuum hoses
in order to get the panel out far enough to detach the parts. If I had known
the other end was accessible, I imagine it would be considerably easier.
The thing wont move but what seems like 2 inches out of the dash, begin with
a screwdriver to remove the connectors you can get to.
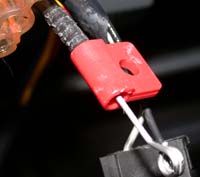
Once the connectors are off, the cable pull is next, there is a flat metal push
on retaining washer on the cable's post. try using pliers or a screw driver
to back this off the post. Once its off, there is a red plastic piece that is
held in by a metal clip, slide a screwdriver into this from the opposite side
to release.
Once the hvac control is out, the dash section that surrounds the gauges is
removed.
It is held on by the 2 remaining screws at the top, inside each of the side
pockets you just opened up.
The cluster is easily accessible now, and only has 2 screws and 2 nuts remaining
that hold it in at each corner.
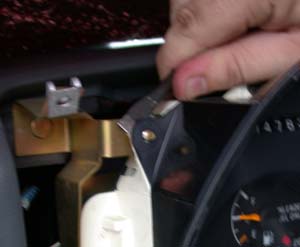
Carefully pry between the plastic and the metal bracket where the studs are
to release the cluster.
The cluster has no connectors so it just pulls out.
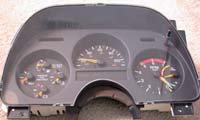
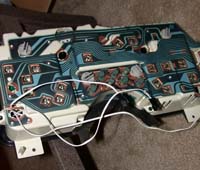
Now your ready to get into the cluster. The whole thing is 2 haves, the plastic
cover and the gauge housing itself.
there are a bunch of torx screws on the back of the cluster that hole the halves
together.
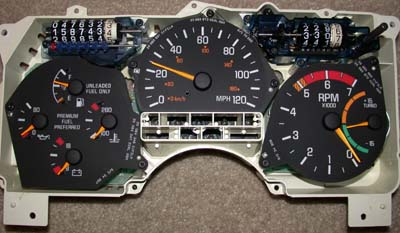
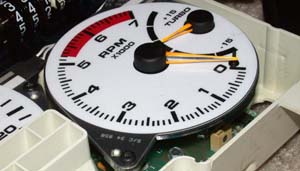
Once those are out, the gauge faces are exposed.
Here, you want to be as careful as possible not to mess things up. Don't move
the needles unless its necessary.
Keep track of where they all are on removal.
The speedo will move based on gravity, don't be worried.
The major one I worried about was the gas gauge, but I'm not even really sure
if it matters, but better to side on caution.
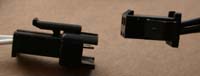
The major issues here are the stop pins and needles. My set of indiglo gauges
did not require needle removal, however they do install better by removing the
stop pins.

These are relatively easy, simply pull strait up with a set of pliers, some
may require some force so be careful.
With all the pins pulled, I unscrewed the faces and slid the new ones over the
needles. This will require you to move the needles around a bit.

After all the faces were on, I routed the wires toward the passenger side of
the cluster and re-installed the face screws.
replace all the stop pins where they can be replaced (note, my faces came with
no stop pin holes on the gas/temp gauge face. I left them out, and it doesn't
seem to effect them at all)
I routed all the wires for the faces out one of the lower light holes (leaving
the light out).
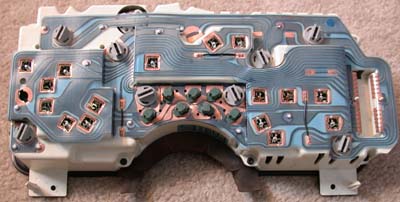
Now, replace all the needles where they were originally and screw the gauge
cover back onto the cluster.
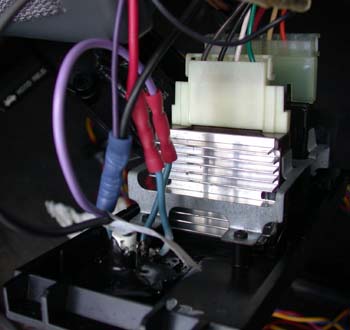
Power Inverter Install:

I found a good home for the power inverter behind the cluster as there is plenty
of room. I routed the face connectors to the passenger side of the dash, the
power wire to the brown wire in the connector for the light panel that has brown,
red, yellow, and orange wires(on with parking lights), and the ground to one
of the 4 large bolts on the steering column.
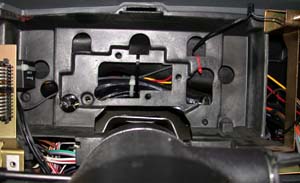 
I added 3m adhesive to the backside, and zip tied the inverter to the area behind
the dash. The adhesive should prevent any noise from movement.
Re install the gauge cluster, hooking up the faces, and test before you re-install
the dash.
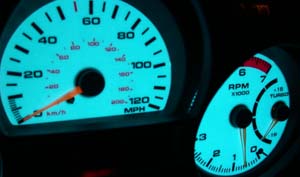
If everything works right, re-install everything and enjoy the super bright
glow from the faces at night (i keep mine extremely dim as they work significantly
better then my autometers at night).
|